Ok folks. Our heating systems are often neglected and overlooked when it comes to routine maintenance. I'm going to share something with you that just happened to me.
About 2 years ago I had Coastal Comfort install a new Central heat and air conditioning unit for both my first and second floor. I decided to go with a heat pump system since it would put everything on one bill. I figured since I was replacing an old outside package unit which used propane to heat and a compressor for A/C (commonly called a hybrid system), anything would be better than the old, inefficient unit I had.
They installed a new 3.5 ton unit for the first floor and a 2.5 ton unit on the second floor. They also installed an emergency heat strip inside the air handlers in the event it got colder that the heat pump could handle. for the first two years everything was fine. I noticed that about 1 1/2 months ago my heating system didn't feel as though it was working properly. On the coldest nights, the system could only heat the house to about 64 degrees and was running constantly. I believed it was due to the fact that it was a heat pump (which won't heat as well as the new hybrid systems on really frigid nights) and there were many consecutive days when the temperature never rose above freezing. I let it go even though the system ran constantly and the thermostat indicated that the system was running in "Emergency Heat" mode for days on end. As the days got warmer and the system continued to run in Emergency Heat mode, I was convinced something was wrong.
I called Kevin Coleman, owner of Coastal Comfort, and explained the situation. He sent over one of his techs, Tim, who went to work right away to troubleshoot the problem. Within 15 minutes he determined that my compressor was bad. Luckily my outside compressor unit was a York unit which has a five year warranty. My new compressor was ordered and is enroute as I write this. While Tim was here I asked him a few questions in order to find out what I could do in the future to keep my system running in optimum condition and possibly prevent future problems. Tim recommended the follwing:
1) Replace the air filters in the cold air returns every thirty days as a rule of thumb. They may have to be replaced more or less frequently base on your individual situation, i.e. if you have dogs that shed a lot, etc.
2) Have your heating system serviced annually by licensed professionals so that potential problems may be identified before they occur.
3) If you suspect your system is having a problem, call your HVAC tech right away.
If I had followed number 3, I would have saved a good bit of money. My electric bill was about $700 higher last month because my system was running in Emergency Heat mode which causes the electric heat strips to be activated. These strips use tremendous amounts of electricity. These strips would not have been used had the compressor been working properly properly.
I recommend Coastal Comfort for all of your HVAC needs. They offer prompt, courteous service at a reasonable price. They even cover geothermal units.
http://www.coastalcomfort.com/
Sunday, January 24, 2010
Friday, January 15, 2010
Vinyl Siding


Applying vinyl siding to your house is no easy task and one which will likely only have to be done once in your lifetime. It requires a lot of time, a good bit of skill, and some expensive equipment the average homeowner doesn't usually have in his garage. There are, however, a lot of homeowners who tackle this job themselves and create a nice finished product.
Lets get started by gathering our equipment. This is what we'll need.
Nail pouch
Tape measure - at least 25 feet
Hammer
Metal snips
pencil
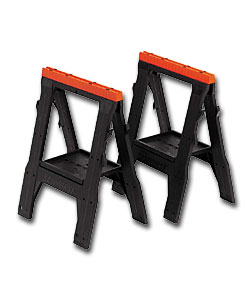
Sawhorses
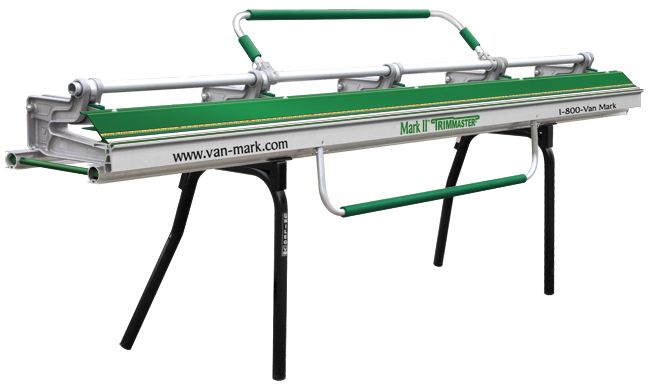
Aluminum brake
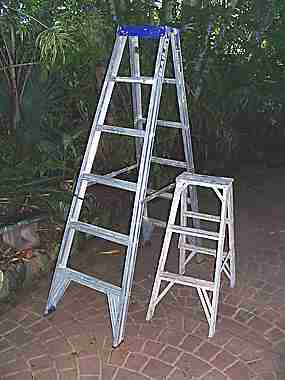
8' step ladder
Extension ladders
Walk plank(s)
Ladder jacks
Safety glasses
levels (2', 4', and a water level)
levels (2', 4', and a water level)
Then you'll need to gather your material:
Foam board insulation
Tape
J-Channel
Starter strip
Corner posts
Siding
Aluminum coil (in a color you decide will be the trim color of your house)
Nails - roofing nails and colored trim nails for the aluminum coil
I'm new at this blogging thing and putting the photo's where you want them is tricky for me.
Next we'll start prepping the house for siding.
First well have to determine what type of siding is on the house and what we want to do with it. In many cases there are asbestos shingles nailed in the outside of the house. If we leave them on and go over them with insulation board we run the risk of breaking it into pieces that fall behind the foam insulation and create bulges that show when we install the vinyl siding. If we remove it, it must be double bagged in bags that are marked "asbestos" and taken to the landfill on specific days (you may have to call to get that info). It also costs twice what regular construction debris costs to dump. This decision is a personal one and must be made with budget in mind.
If the existing siding is asbestos, now is the time to remove it. Lay 6 mil sheets of polyethylene down on the ground from the wall on which your working to a distance 8' to 10' out. Use a face mask style respirator with the "purple" HEPA style cartridges. Asbestos is safe until you begin the removal process which creates asbestos dust. This dust is easily inhaled and causes a wealth of serious long term medical problems.
After asbestos is removed, install foam insulation board. I'm going to be brief as it relates to the intricacies of installation because I intend to include the heinous series of instructional videos we've come to know and love.
Preparation of the house for installation of the vinyl siding is as important as hanging the siding itself. At this point it would be prudent to view the link below which allows you to access a series of 4 videos.
Thursday, January 14, 2010
Toilet Replacement - This blog has already gone in the crapper
Oh that was bad. Really bad. I'll just get to the meat and potatoes of the post and hope no one notices the title.
Most residential toilets have two main parts. The bowl and the tank. The tank is the upper part that holds the water - about 1.6 gals for the newer enviro-friendly toilets. The bowl is the part that holds the - well, you know. The tank bolts to the bowl using two long brass screws with large heads and rubber washers to keep it from leaking when it's filled with water. There is a large hole located between those bolts through which the water passes into a hole in the rear portion of the bowl when the toilet is flushed. That hole is sealed with a thick rubber gasket prior to the bolts being installed to make the tank and bowl one sealed, watertight unit.
Now, first we must turn off the water supply line by shutting off the valve located behind the toilet. It either comes from the floor or the wall. Once this is done, we flush the toilet to empty the tank. Remove the remaining water using a ladle and a towel.
At the bottom of the bowl on each side where the bowl meets the floor, there are two flange bolts that hold the toilet in place. Remove both bolts and lift the toilet straight up and take it directly outside to be cleaned if reusing or to be discarded.
On the floor where the toilet was located you will see a piece of plumbing known as the toilet flange which is attached to the drain pipe. This pipe is what carries the waste water from the toilet to the main sewer line. The large center hole is where the waste enters the line from the bowl. This connection is made water tight by placing a special wax ring over the large hole and the toilet outlet is centered onto it. This flange also has two locations around the perimeter. The flange bolts go through these holes, through the bottome of the bowl and are tightened to hole the entire assembly firmly in place. The old wax ring must be completely removed. Remember to plug the large hole on the floor with a rag or plastic bag because sewer gases will make you sick - and they really smell :).
The new toilet will come with directions on how to assemble. Once it is assembled, install a new wax ring to the location on the flange from which you removed the old one. The new wax ring should come with new flange bolts. Install them where the old ones were located. Set the new toilet straight down ond the wax ring so that the new flange bolts come through the holes in the bottom of the bowl. Tighten the bolts EVENLY and slowly - and only until the toilet is stable on the floor. Over tightening can crack the porcelain around the bolt holes. Now re-attach the supply line and turn it on slowly, being certain to check for leaks where the tank and bowl join and where the supply line connects to the bottom of the tank.
Once your satisfied you have no leaks, wait until the tank fills and shuts off completely. Make certain that the water level is supposed to be as indicated by the instruction that come with the toilet. Now flush the toilet. Let the tank fill and repeat the cycle another time. If the toilet is sturdy and there are no leaks.......congratulations.
I'm really not trying to be wordy but if something is not done correctly it will leak. I've included an instructional video to help you so I won't go into any further precautions, etc.
If the condition of the toilet is questionable it could save you time, money, and a huge head ache if you just replace it. You can buy whats known as a "toilet-to-go" from Lowes for about $100.00. This includes the wax ring, the fluid master (the mechanism that meters the water), flange bolts, Tank, bowl, and toilet seat. EVERYTHING.
Wednesday, January 13, 2010
Clearing a Clogged Sink


From time to time we all notice that the drain in our kitchen sink slows down of stops draining completely. Many times this is caused by the drain "trap" becoming clogged.A couple of things first.
A trap comes in two main configurations; an "S-trap" (example on right)and a "P-trap" (example on left). With an "S-trap" the water drains out through the bottom of the sink, through two "U shaped" fittings put together to make an "S", and out through the floor. With a "P-trap", the water drains out through the bottom of the sink into two fittings put together to make a "P", and out through another plumbing fitting in the wall. S-traps are commonly used in older homes and P-traps are used in newer homes and meet modern code requirements today. Also, kitchen sinks usually use 1 1/2 inch drains and bathroom vanity sinks usually use 1 1/4 inch drains and are made of either chromed metal or plastic.
Now with that out of the way, we can get to work. If your drain is clogged, it's often best to just take the five minutes to remove the trap and clean it out rather than to pour chemicals into the drain and run the risk of being unable to clear the drain and then having to take apart the drain with chemicals in it.
First gather a few items you will need. A towel, a bucket, and a pair of channel lock pliers. Rather than typing four or five paragraphs and run the risk of still not getting my point across, I thought I'd just provide a youtube video that explains things.
Changing Doorknobs
Every homeowner will, at one time in their life, be faced with the prospect of having to replace a doorknob. While some people are handy enough to dive into this and be able to figure it out as they go, there are many among us who will find this type of repair daunting.
There are several different types of door knobs. Some are designed for exterior doors and some for interior doors. Most doorknobs designed for exterior doors are designed to be unlocked using a key from the outside and a small twisting mechanism located on the face of the knob on the inside.
Doorknobs designed for interior use vary depending upon their intended purpose. For example a doorknob intended for Bedroom/Bathroom will have a lock that operates the same on the interior as the lock mentioned above yet it will be supplied with a key type device that usually stored on the trim above the door in the event the door is accidentally locked or someone in that room becomes hurt and can't open the door on their own. The other common type of doorknob designed for interior use are commonly known as Hall/Closet or "passage" knobs. These have no locking mechanisms and are designed merely to keep those doors latched shut.
While there are other types of door knobs availabe, those mentioned above are the most common.
This post is designed to assist those who need to install a basic doorknob and have never done so. Also, if the reason for changing the doorknob is due to looseness or binding, you may want to consider trying to tighten the screws that hold the knob together as they frequently become loose due to ordinary use.
We've included a Youtube instructional video to assist you as necessary with this project. If you have any questions or problems, or otherwise feel that you would be unable to tackle this on your own, please feel free to contact us by phone or E-mail, or contact the handymand of your choice. Have fun working Around The House.
Subscribe to:
Posts (Atom)